Friday, October 10, 2014

Spider Web Art Project

This Spider web art project was quick and easy. My students really enjoyed it. The spider webs were done on black paper. We used white paint and a few marbles. Students each had a chance to roll the marbles around in a small tub to make their web. I wrote their name on the back of their paper with a white crayon.

Making the spiders for the webs was done as a whole group project. I had pre-cut two pieces of paper for each student. One piece was a 5"x 6" piece of paper, which was for the head/chest and the abdomen. The other piece was a 2 1/2"x 4" piece of paper, which was for the legs. 

I also had pattern pieces made up for students to use to trace the spider parts. I had 15 head pattern pieces and 15 abdomen pattern pieces for my class of 26. I also had them labeled, so students could make sure they were tracing the correct parts. The students shared the pieces as they traced the parts they needed. 

After students cut apart the body pieces, they glued them together. Then they cut 8 strips for the spider's legs. We glued the spider legs onto the abdomen, which isn't where they go, but we went with it anyways. One student did try to make his more anatomically correct, which was cute too, but a little squished. Students also drew eyes on the spider and some students even used scrap paper or drew the spinneret.


I love that each spider was unique. My students were all very proud of their work, which I of course displayed in the classroom. 

If you haven't read my Spider Diagram blog post, you might want to check it out. I have a huge spider diagram that I use to help students learn about spiders. 


Thursday, October 9, 2014

Spider Diagram

We are learning about spiders this week. One thing I like to do is bring out my big classroom spider diagram. Students go crazy when they walk into the classroom and see it. They immediately know what we are going to be learning about.

I made this spider years ago. I'm glad that it has lasted so long. It was pretty easy to make and worth the time. I thought I'd share the idea with you in case you were looking for a fun idea for your spider unit.


As I mentioned, the spider is super easy to make. You start with a large piece of paper the size you want your spider to be. Then you use black paper to cut out the body pieces. I used two large oval shapes for the abdomen and the head and chest area. I used eight long strips of paper for the legs. I also used two thinner strips of paper for the fangs and two small pieces for the spinnerets.

Once you assemble the spider and glue it onto the paper. You can add some eyes, which are just small circles of red paper. Along with the spider, you can make word cards for each part of the body.

This spider is such a good visual. Students definitely learn the parts of the spider. They really enjoy using the spider to show what they have learned.


While teaching your spider unit, here are a couple of resources that you may be interested in. Feel free to visit my TPT Store to learn more. 


Thursday, October 2, 2014

Apple Art Project


It's apple time! My class is having fun learning about apples. We of course are learning lots of apple facts. We also did our apple tasting and used our five senses to come up with descriptive words for our writing. One other thing we did was this apple art project. I thought I would share it with you. I have actually been doing this project for years. I'm sure I got the idea from my kinder friends when I first started teaching, but it has been so long that I'm not quite sure who gave it to me. Anyways, I like it enough to keep using it year after year.

Here is what I did. I had all of the pieces of paper ready in advance and then passed them out while the students were at recess. This worked really well. When the students came I read a book about apples before we started the activity. Then I had them go to their seat and get out scissors, crayons, and a glue stick.

As we did this art project together we discussed each piece of the apple. I first had students take a tan piece of paper and tear the edges, rather than cut them, to make the apple core. Students glued that piece on. Then we did the apple skin. I had students trim all 4 corners off of both pieces and glue them on. The next thing we did was tear a small piece of brown paper for the stem. I had students lift the top part of the apple to glue the stem under the skin. Then I had students draw the seeds.

Our final step was the labeling of the apple parts. I had students take one piece of yellow paper, fold it in half, and then fold it in half again. They were able to open it up and see the lines to cut the paper into equal parts. We then labeled the apple together, again discussing the parts as we went.

It is a pretty simple project, but it provides students with a hands-on approach to learning apple parts. I hope that this motivates you to try it. Here is a list of pieces of paper with an approximate size that each student will need for this project.
- 1 sheet of green paper (6"x9")
- 1 piece of tan paper (3"x4")
- 1 small brown paper (2"x2")
- 1 piece of yellow paper (2"x4")
- 2 pieces of red paper (2"x3")


You might be interested in this Apples, Apples, Apples product that I have available at my TPT Store. It includes a poem, an activity page with the stages of an apple, and a reader. 


You might also be interested in the apple story video that I have made available on YouTube. It is an adapted version of the Little Red House with No Doors and No Windows and a Star Inside. Click the link to view it!


Have fun teaching about apples. This is such a wonderful way to encourage student learning. 


Saturday, September 27, 2014

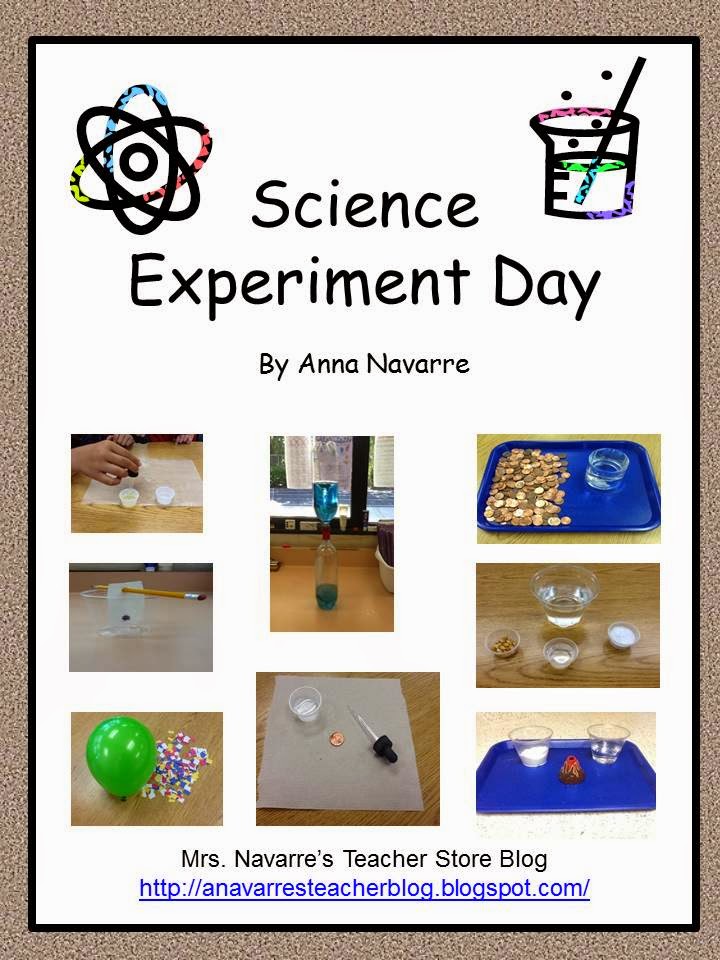
Science Experiment Day

It is kind of funny to teach science in first grade. Parents and even students don't really understand that learning about things like plants, animal habitats, and weather, is actually our science. They seem to think of science as more hands-on experiments. I guess in a lot of ways, so do I, or at least that is the kind of science I enjoy. I like the investigative type of science. The kind that allows for predictions (a hypothesis) and then the testing of those predictions.

I think that this kind of investigative learning and thinking is important and fun. One way I get more of this in our classroom is through a Science Experiment Day. It is a day full of hands-on investigations, thinking, discussion and recording. Students truly feel like scientist. I just wish I had the lab coats to go with it. Ok, now I've got to go get lab coats. Anyways, I love it.


I have this Science Experiment Day product available at my TpT Store if you are 
interested in checking it out. 


Thursday, September 18, 2014

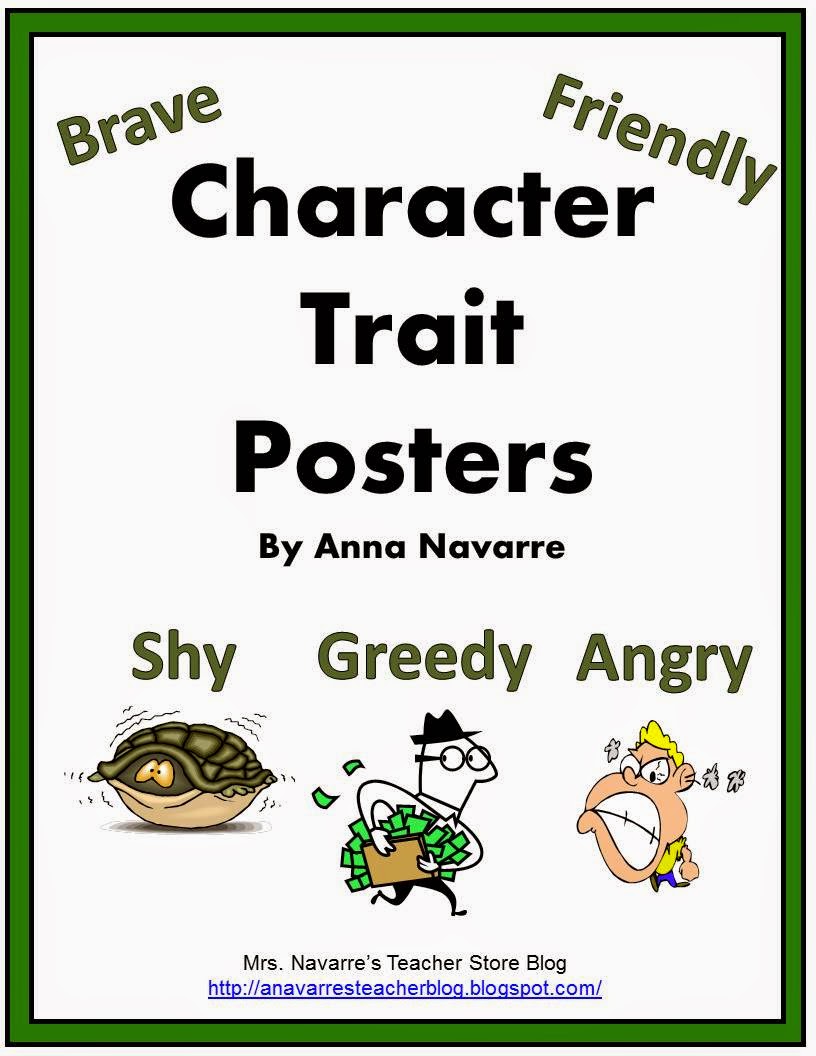
Character Trait Posters

I've put together some posters to help my students understand character traits. It is pretty tricky to get first graders to think of a character as more than "good" or "nice." I use some other resources that are helpful, but I needed a way to focus on each different character trait more specifically, so I created my Character Trait Posters. The set of posters doesn't cover all character traits, but it has 20 that I think help students begin to understand what character traits are and then leads to discussion of more traits.

After putting together this poster set, I printed the out the posters and laminated them. My students like to play teacher with them. While I love having the posters, I also wanted a different way to introduce them to my class. I did this by including an audio and posting it to YouTube. I've included the link to both the posters and to YouTube.


Feel free to check out the Character Trait Poster video at this YouTube link

or the Character Trait Posters at my TpT Store


Sunday, September 14, 2014

Mini Word Wall and Practice Activities

I created a new classroom Superhero Word Wall this year to go with our school theme. I think word walls are so important to support beginning writers. I know that  a lot of teachers put a few words up at a time, but I like for students to have the full benefit of this resource right from the beginning. I'm not saying that either way is right or wrong, it is just my personal preference.

One problem that I found with my word wall and everyone else's too, is that it is sometimes hard for students to really see. This limits the use of this great resource. This year I decided to create a Mini Word Wall that goes with my classroom word wall. Initially, I thought that with students having these on their desk we could just review the words, which would allow students to use the classroom word wall more effectively. After the first days of school, and as we began our writing, I was amazed. My students immediately started using these Mini Word Walls. They were questioning where to find a word and definitely felt more confident about their writing.  Once I gave them the idea of highlighting the words that they wanted to remember, that opened up a whole new world. Students began communicating with others as to the word they highlighted or how someone could find a word that they needed.

Shortly after finding how effective these Mini Word Walls were I decided that I needed some practice activities to help students become more familiar with all of the words that are listed, rather than just the word they happen to need at that moment. I created this set. It has four different practice activities. I like putting them in sheet protectors and allowing students to reuse the sheets over and over again using whiteboard markers.

I still  have a classroom word wall, I'm not giving that up, but it is fun to see how students are using this Mini Word Wall resource. I actually think that because of the Mini Word Walls students are using the classroom word wall more effectively as well.

I do have the Mini Word Wall and Practice Activities available at my teacher's store if you want to check it out. I also have the classroom word wall that goes with it.

Mini Word Wall and Practice Activities

Superhero Theme Word Wall


Saturday, August 23, 2014

Starfall Classroom Resources

If you are looking for good classroom resources, these Starfall books are great. I began using these resources shortly after I began teaching 14 years ago. At the time I was teaching kindergarten. These journals are perfect for this grade level. The books have larger lines and a place for a picture. I teach first grade now and have continued to use these journals. They are still great for the beginning of the year and for quick writes. One of my teacher friends, who is retired now, used to use these journals as a memory book. She would take a picture of a special activity and then have students write about it.

There are two different levels of the Reading and Writing journal. The first level is really more of a phonics workbook. I love using these book for independent seat work. I especially love this first one. Students who have a pretty good beginning  foundation of phonics can use this without much support, or a lot of times can get support from another student. Most of my students don't get to the level II book, not because it is too hard, but more because of time. Those students who get to the second book are those students who are truly ready for it, which is perfect. It isn't necessarily harder, but it does focus more on writing to a prompt, and it is just better for students to be ready for it.

When I first began using these resources I think they were free or practically free. They are still fairly inexpensive considering their value. The current price for the journal varies depending on how many you buy, but it is 1-19 for $1.00 each and 20+ for $0.79 each. The workbooks are 1-19 $1.95 each and 20+ for $1.00 each. One thing to be careful of is to make sure you order the correct font. There are a couple to choose from.

The Starfall website is always changing and has lots of resources, so even if you don't like the books you still might want to check it out. Here is the link to the order form http://order.starfall.org/k/shop2/index.html .This is the link to the Starfall download center where you could actually download or view pages that are from the book http://www.starfall.com/n/N-info/download.htm . Here is the link to the actual Starfall website http://www.starfall.com/ . I hope that you enjoy these resources as much as I do!

If you are interested in viewing other teacher resources, I'd love to have you visit my teacher's store http://www.teacherspayteachers.com/Store/Anna-Navarre .